Crease+ is a Maya extension created by Baidhir Hidair for hard surface modeling and a more substantial boolean operations. Here I'm going to break down all the major functions of the extension and how it can help you improve your hard surface workflow.
Toggle Boolean: Shows you your boolean objects, either with a bounding box or with the full object
HBevel: Bevels all hard edges on a mesh, can be used specifically on faces but not edges; Frustratingly this will crash Maya if you undo this, which is annoying because Maya really doesn't need any more reasons to crash.
Get HardEdge: selects the hard edges on a mesh, pretty useful for determining if you want something to be set up as a hard edge. Generally you can follow this up with a bevel to give you the curves you're looking for on a model, or just take the "computer" edge off a mesh.
30 Smooth: Applies the Harden/Soften Edge with a smoothing angle of 30.
Bool: This is somewhat the bread and butter of Crease+'s pitch but to be honest I'm really not impressed. The boolean operations are definitely better than Maya baseline boolean operational stuff, but if I'm being honest I prefer Zbrush. I can see this being useful for setting up basic shapes and moving that stuff to more advanced development, but over the course of my project I couldn't really find a use for it.
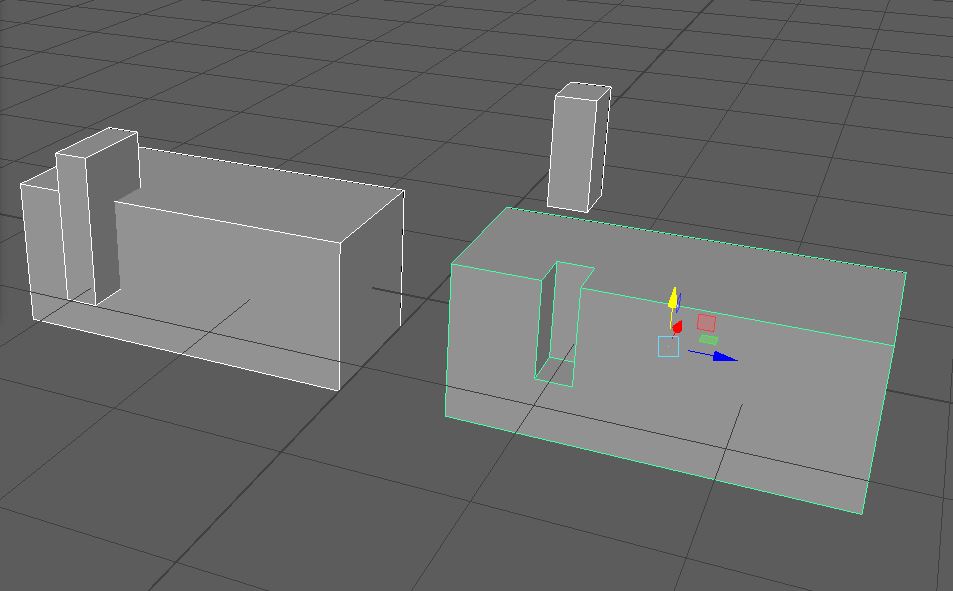
Panel Bool: If you need to take multiple, identical indentations or cuts into an object, panel bool is the tool for you. It creates a tillable boolean shape you can use repeatedly across multiple boolean operations.
Shapeshifter: This seems to be another program or extension designed to interact with Crease+ but it's not included so not much to say.
Hard Display: Creates a highlight over the hard edges present on a mesh.
Keep Bool: Keeps the Boolean shapes after the operation for use after
Mirror: It's an X mirror that detects where the object you're trying to mirror, pretty basic but nice to have on a button. It will carry things over from other side though, so it's kinda weird to use if you're used to the standard one.
Zbrush: Sends the object into Zbrush and fixes Ngons
Mesh Slicer: Slices your mesh across a curve, pretty useful for shoring off sections of your mesh.


Crease 1 - 3: Sets edges to one of three hardesses, useful for cultivating rounded edges, somewhat hard edges, and hard edges but never leaves them totally "computer" sharp. These and the next tool are mostly what I used on my own project.
No Crease: simple, uncreases your selected edges
Weight Tool: again, fairly simple, brings up the crease tool with updates.
Physical Crease: So far as I can tell this is just a bevel.
SmoothSG & SmoothOS: both apply a smooth, SG stands for smoothing group, so you can set up the creases in the crease set editor and then work off that while SmoothOS runs the Convert>Smooth Mesh preview to Polygons operation. It runs this fairly quickly, maybe even faster than maya.
Draw Curve: Selects Curve tool, thusfar it doesn't actually make any curves, only straight lines between points.

Close Curve: Closes Curve
Champfer Curve: I couldn't get this particular tool to work at all so I can't really report much on it, sorry
Curve Intersection: Traces the path of a curve till it overlaps with another curve, then discontinues
Attach Curves: This may just be human error talking, but I'm not sure this fuction does anything either. The tooltip says "attaches selected curves" but they neither bridge, merge, or get stuck on a mesh they intersect with, so I'm not sure what this is supposed to do.
Mutliply Curve: Increases Curve Resolution, but again this weird straight line curve doesn't do what it should, this whole panel doesn't really work how I would hope.