Monday, October 29, 2018

Medium Complexity Character Week 1


This week's assignment was to either sculpt our high poly mesh or create our low poly in Maya.  I elected to start in Maya to create a base to work from and then begin sculpting in earnest in Zbrush.  I'm fairly satisfied with the results, though I did take some liberties with the design we were given because it is so 2D in its execution.  I wanted to keep some of the lines Nick placed in the original concept as lines carved into the form but I'll need to check how they look when baked into my low-poly and decide if they're best for the project.


Thursday, October 25, 2018

Prometheus Concepting


I was chosen as one of the Art Directors in the theme world project, my story was a sci-fantasy retelling of Prometheus.  In our retelling Prometheus shapes robots instead of humans from the earth, establishing a connection between our great builder Prometheus and her creation.

Medium complexity character - Deer


Monday, October 22, 2018

Fish In A Week

This week's project was an interesting one, I've never sculpted something entirely in Zbrush and brought it back for retopologizing in Maya, but I'm excited to get started, I'll be checking in with progress as the process continues
First step is to set up a spotlight projection to get your basic shapes down, use this at the start of your sculpt to get the basic shapes down and come back to reference the locations of major landmarks.


High Poly Zbrush Sculpt, had to take a second crack at the sculpt after I had a lot of difficulty with the fish arm pit.  Note to self, never ever do something like this again, always Tpose, even with fish.


Low Poly Maya retopologized model.  Oh my god this was a nightmare, I tried a round of Zremesher to try to simplify it a bit but to no avail, it did not work and I had to stitch together that armpit 4 times.

Substance Painter is our third step for Ambient Occlusion, texturing, and baking


Thursday, October 18, 2018

2D Visual Development - Environment and Character

Character Design: Prometheus
I had two designs pitched at the first check-in and people seemed to respond well to the design I had rendered more but I really liked the one I only had the time to sketch up so I rendered them both in an imitation of the Moebius style.  Overall I'd need more time to really clean up my linework and get the forms rendered to make them really shine.

For my environment illustration I went with Prometheus chained to the rock.  Here she is bound to a crystal which has grown over her hands and feet, and is guarded by an eagle.  I had a lot of fun with these colors, I might take a second pass at the yellowest of the crystals to try to give them a bit more character as i feel that get too uniform as they approach the ground.  I had really wanted to make the ground a purple but it made the piece feel cool when it was supposed to feel hot.

Monday, October 15, 2018

Sekhem - Dragon Cannon UV


Final sculpts (3) followed by Decimated version


Unfortunately working into the night I wasn't able to get a decimated version of the dragon cannon that didn't completely lose the mesh integrity.  20kp was about the point that things started to break down for the much worse, at this point I'm not sure if it's best to call it quits.
I'm going to try to retopologize the cannon in Maya but this is well outside my time allotment before deadline, I really didn't think industry review would last so long.


Thursday, October 11, 2018

2D Visual Development Character and Scene - SciFan Prometheus

Reference: https://www.pinterest.com/PrismGhost/musa-the-golden/

https://www.pinterest.com/search/pins/?q=moebius%20floating%20city&rs=typed&term_meta[]=moebius%7Ctyped&term_meta[]=floating%7Ctyped&term_meta[]=city%7Ctyped


Creating a more robust and Sci-fantasy aesthetic for a world has always been a goal of mine in a design project, and Moebius continues to be a great inspiration for art in that vein.  Prometheus is a bit of an odd character to adapt in many ways because he's generally depicted either nude or in a pretty simple robe, but since I wanted to push the other-worldly and ethereal aspects of the Titans and Gods I think my Prometheus will start a bit more regal. 


I'll likely end up simplifying the design as I go forward, but Moebius had a habit of giving large complex articles of clothing with elaborate linework alongside gradient blocks of color.  I'll likely end up reducing the detail around the legs and belt area, leaving the greatest area of detail around her chest and arms.  Creating a detached exterior that is alien to the new life our prometheus surrogate brings light and technology to.


I figure I couldn't do a more fitting subject for thematic and shape exploration than the iconic scene of Prometheus enduring his punishment.  For this I'm doing a bit of changing to the original myth to make it a little more thematically relevant to the character and the irony of her punishment at the hands of the new gods.  She is chained by the unbreakable metal of her own making and the rock is replaced with a crystal which stores the sun's energy, where the titan Prometheus gets fire from to give to humans.  Plot-wise I still have a bit to work out, but since I'm specializing I'll have more time to put into working on this and my 3D with less time split between all the balls I have to keep in the air.


Friday, October 5, 2018

Story/Myth Restyling

I'm going to be recreating The Myth of Prometheus in a sci-fi setting

we're gonna tempt fate again and go for Moebius
Image result for moebius

Thursday, October 4, 2018

Lighting and Recreating Robo


Junk Robo is a go-go!
This week's assignment was to create a 3 point lighting arrangement and recreate the subject.
For this I placed a favorite junk-assembled robot on top of various sketchbooks to stabilize it on the slanted light table.  The light table provided a strong rim lighting all around the figure, while the light form the room provided ambient light, and I used a friend's phone flashlight for the spotlight.
Overall I'm pretty satisfied with the result, blocking out the shapes and sampling the colors directly from the photo was easy enough as I worked them in the same document. The lighting is fuzzier in my recreation but I feel it's more dramatic and emphasizes the 'giant robot stomping through the city' look I had tried to recreate with the under lighting.

Monday, October 1, 2018

Cannon UV and High-Res

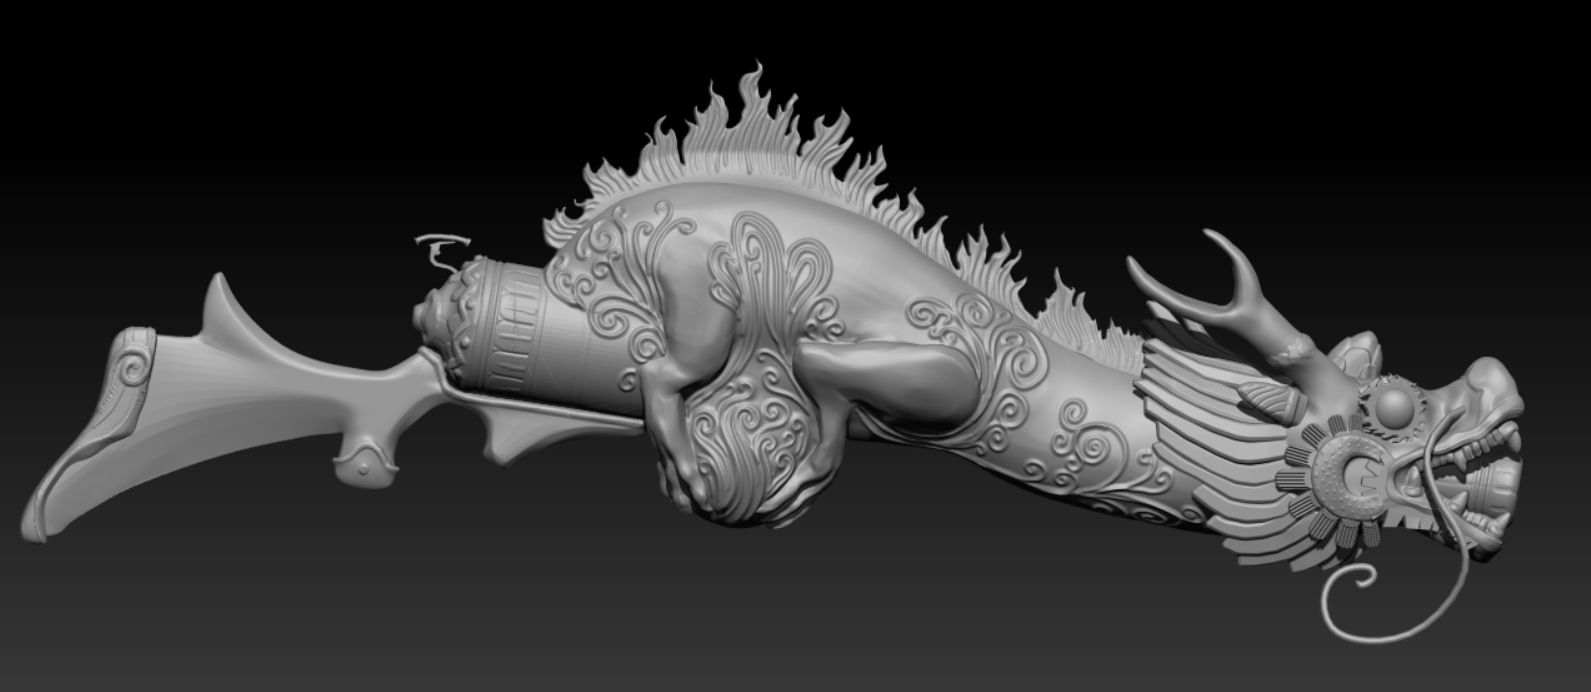
While the Dragon continues to make progress, I'm UVing and setting up the other elements of the cannon to be prepped and ready so that once we dive into Texture painting in earnest with Substance Painter everything will be ready.

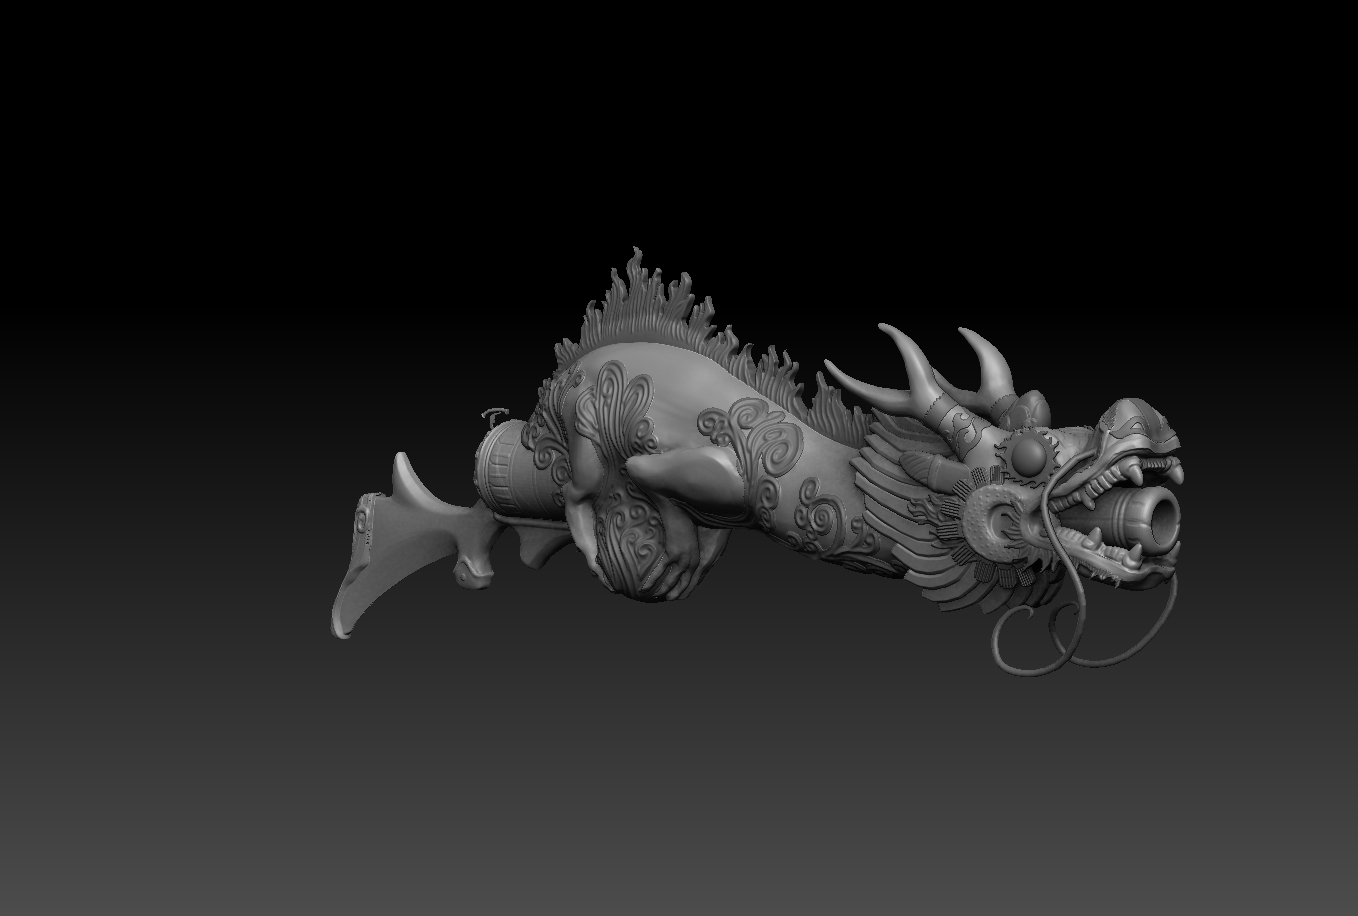
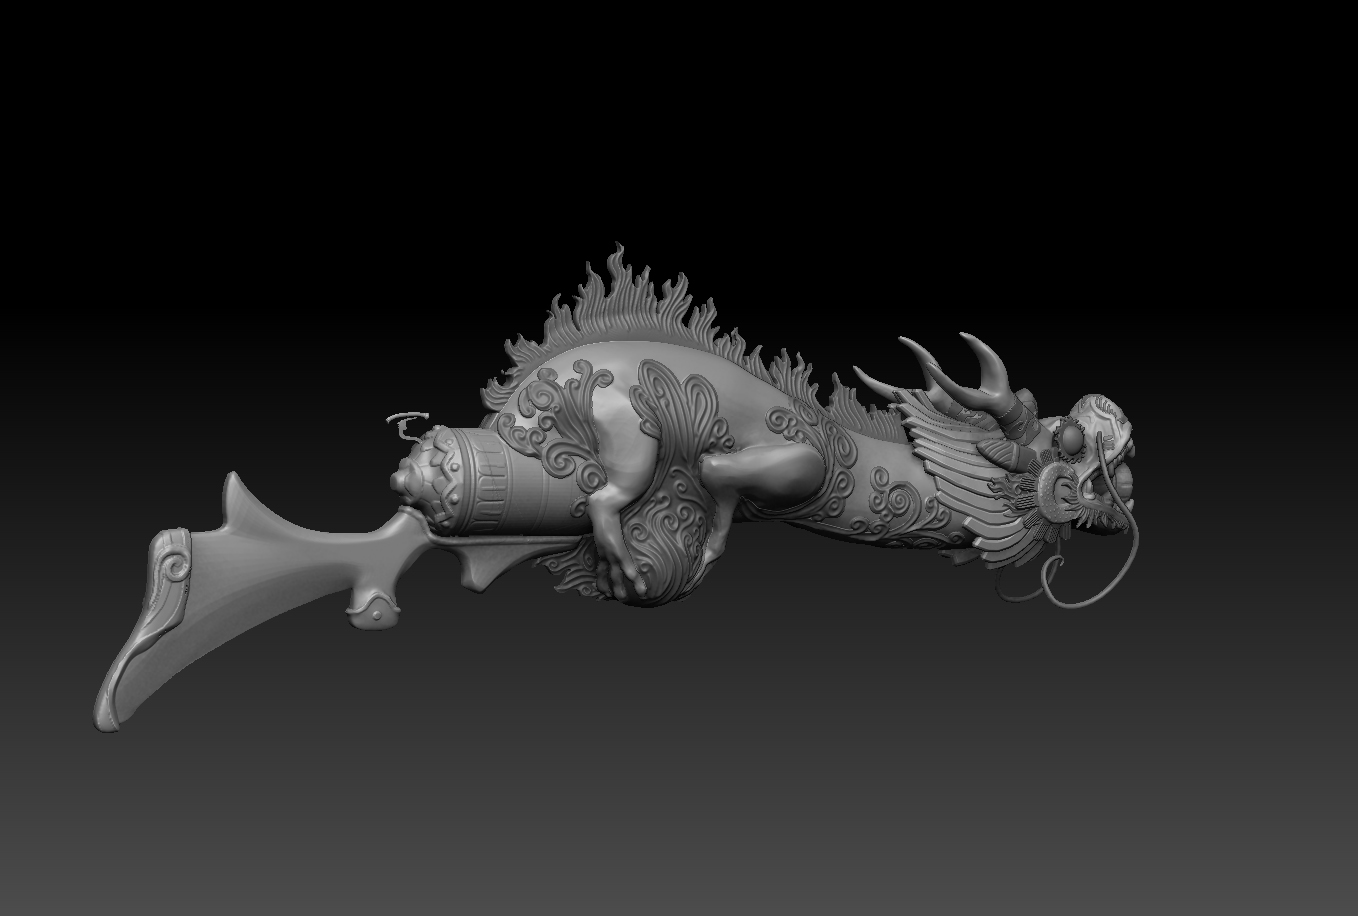
Here's what I've got in the High Poly, I'll be tweaking this in the weeks to come to get it ready for the portfolio review but here's my first pass.


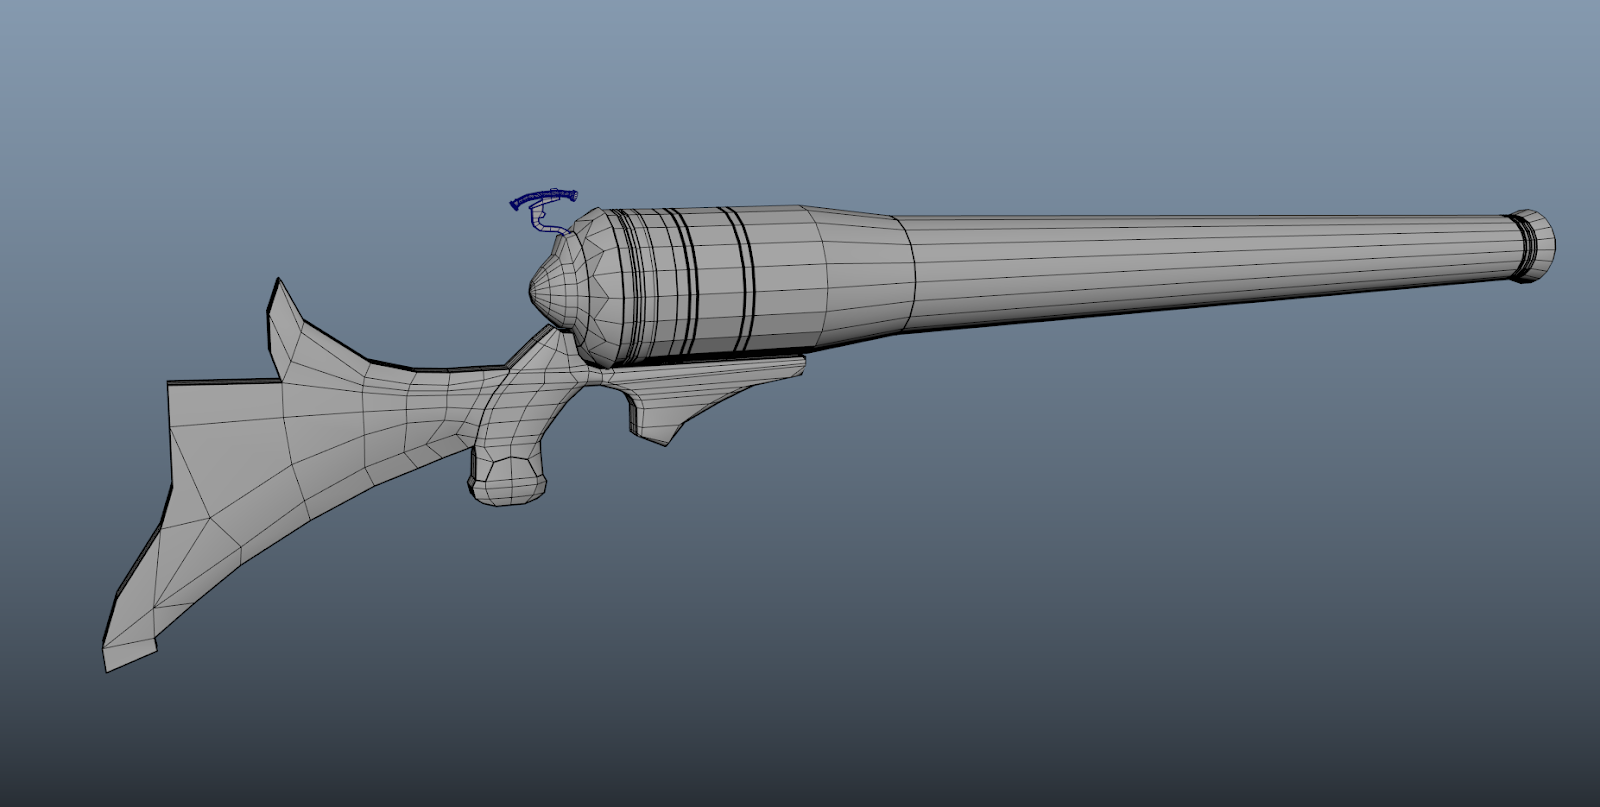
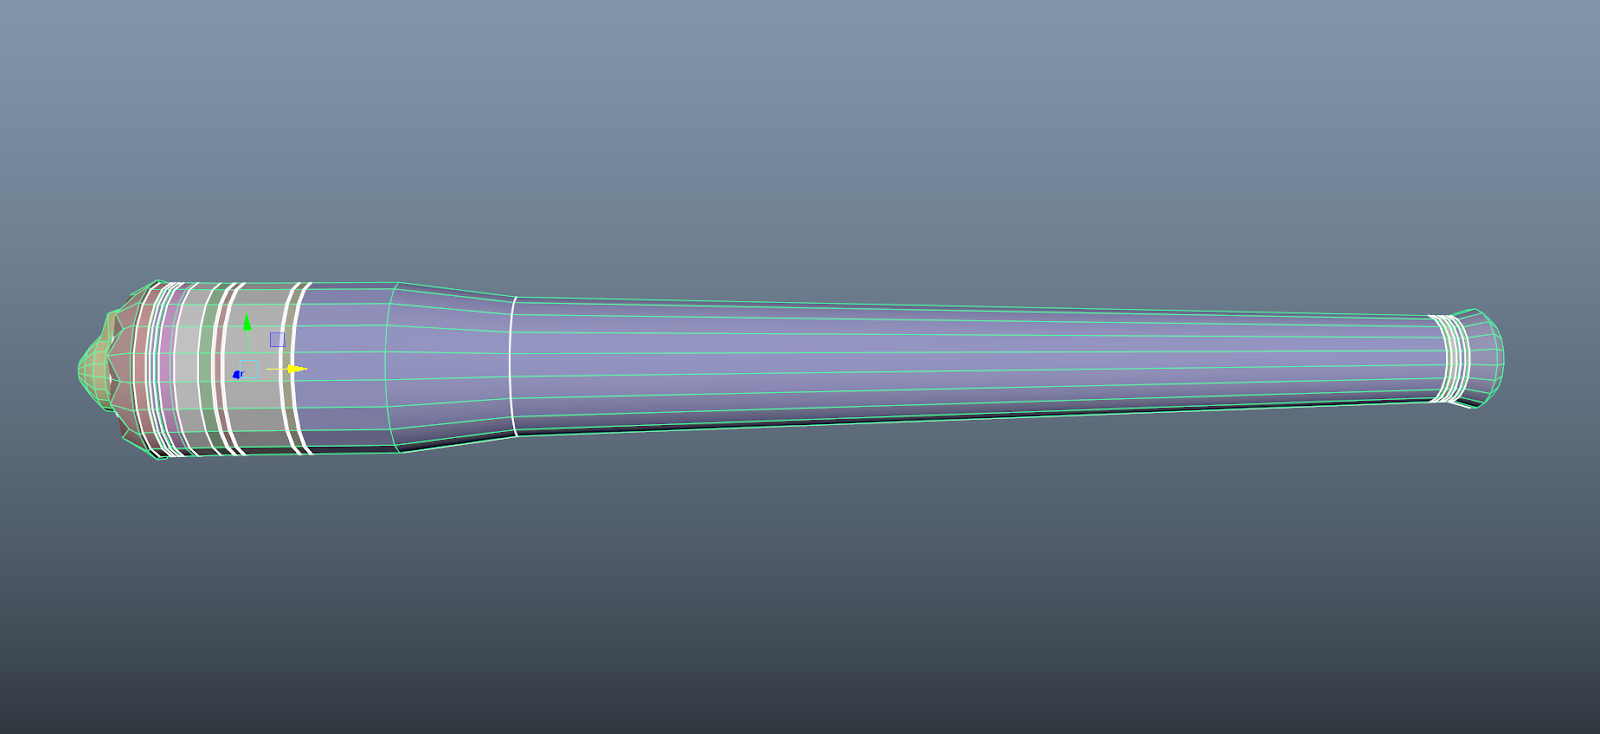
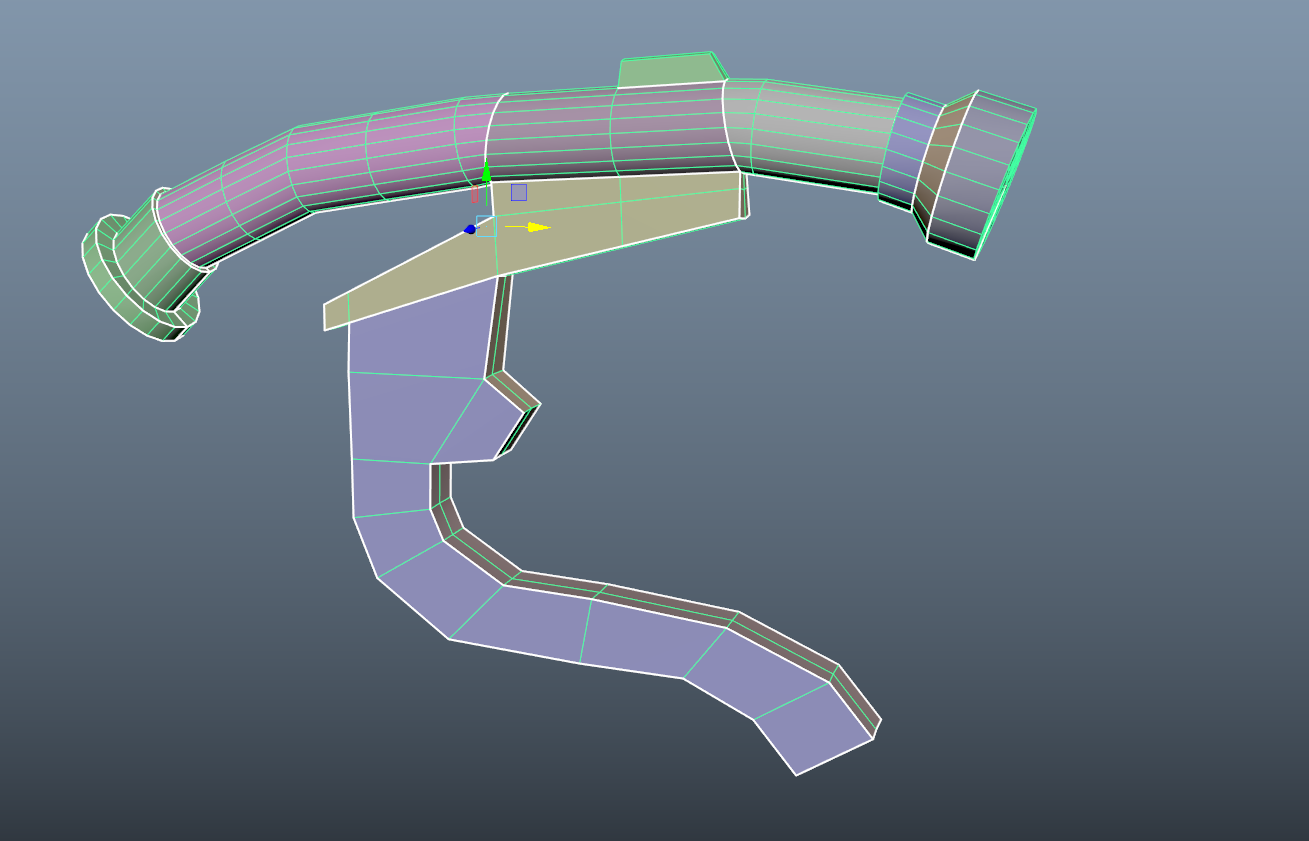
Dragon Cannon Wireframe sans the titular dragon, imagine a cannon with a rifle butt

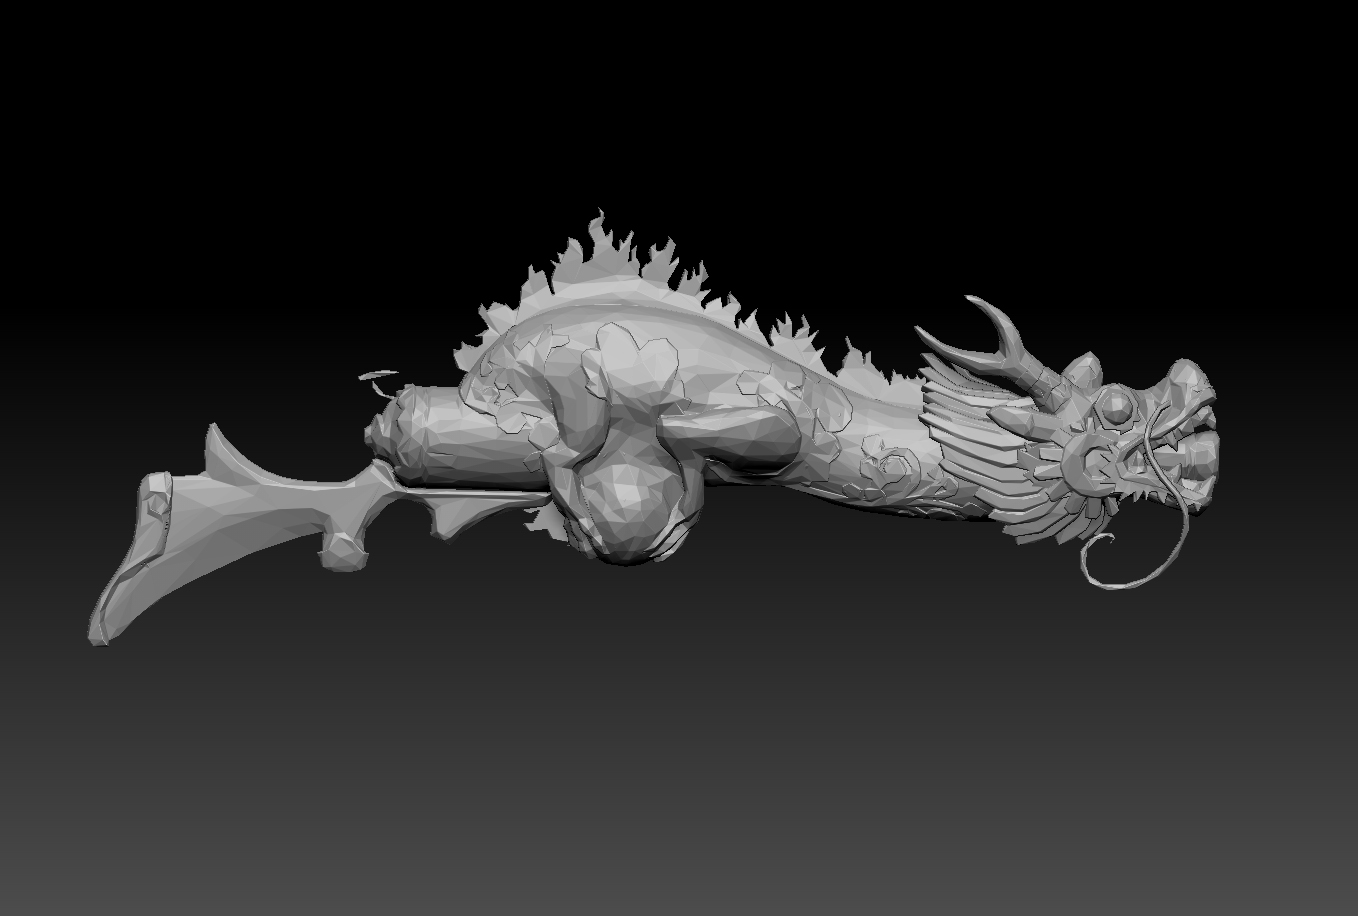
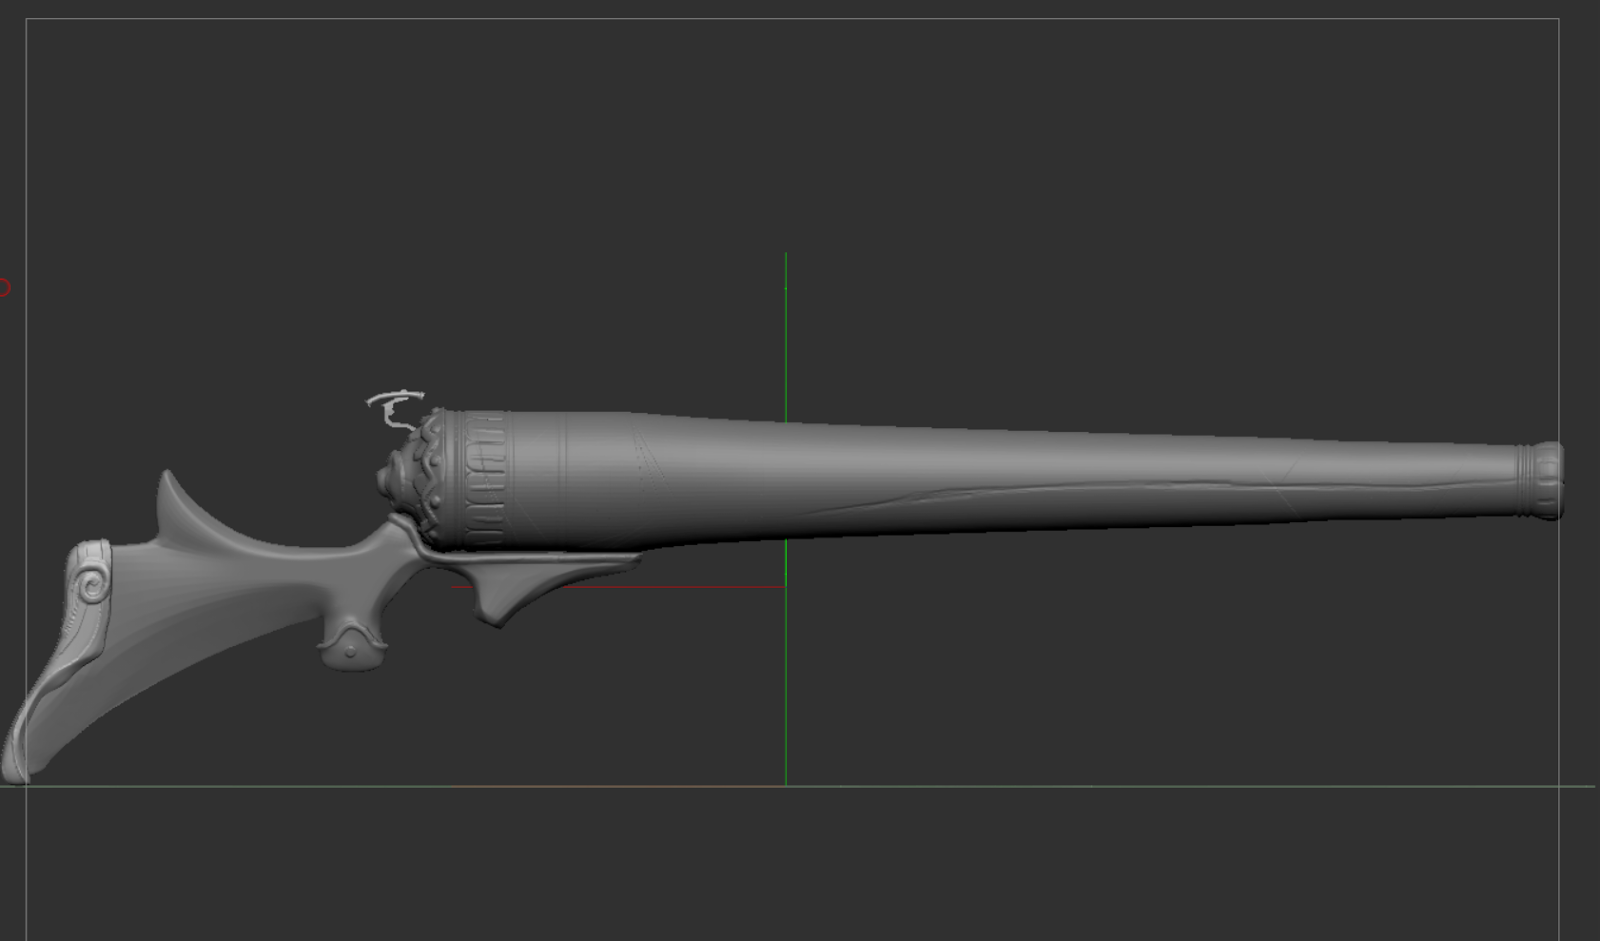
Cannon poly groups, there's a number of divets into the cannon that were easy enough to extrude in, I imagine I'll be going back over those with Quad Draw to reduce poly count on my low res once I'm doing my final passes.

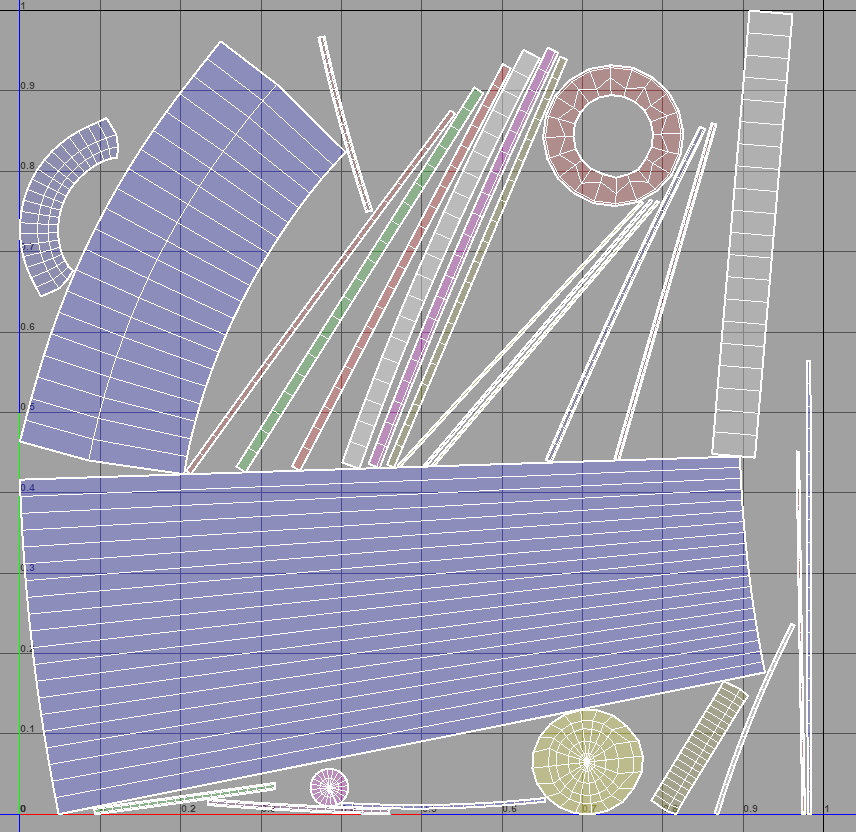
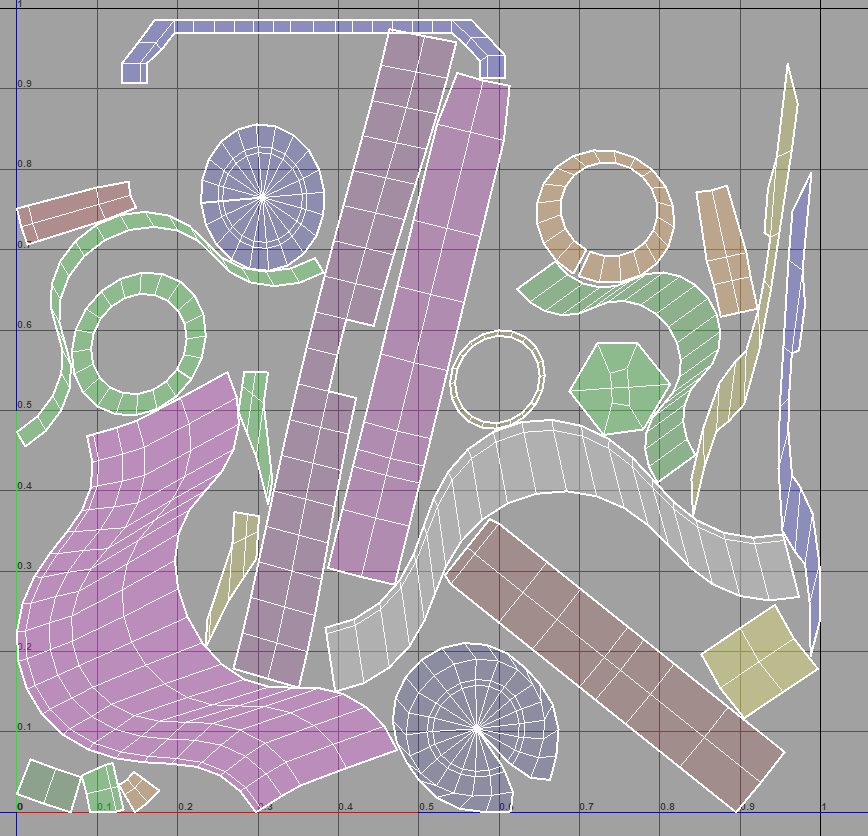
Canon UV Shells, generally split up to maximize the size available to the body of the cannon.
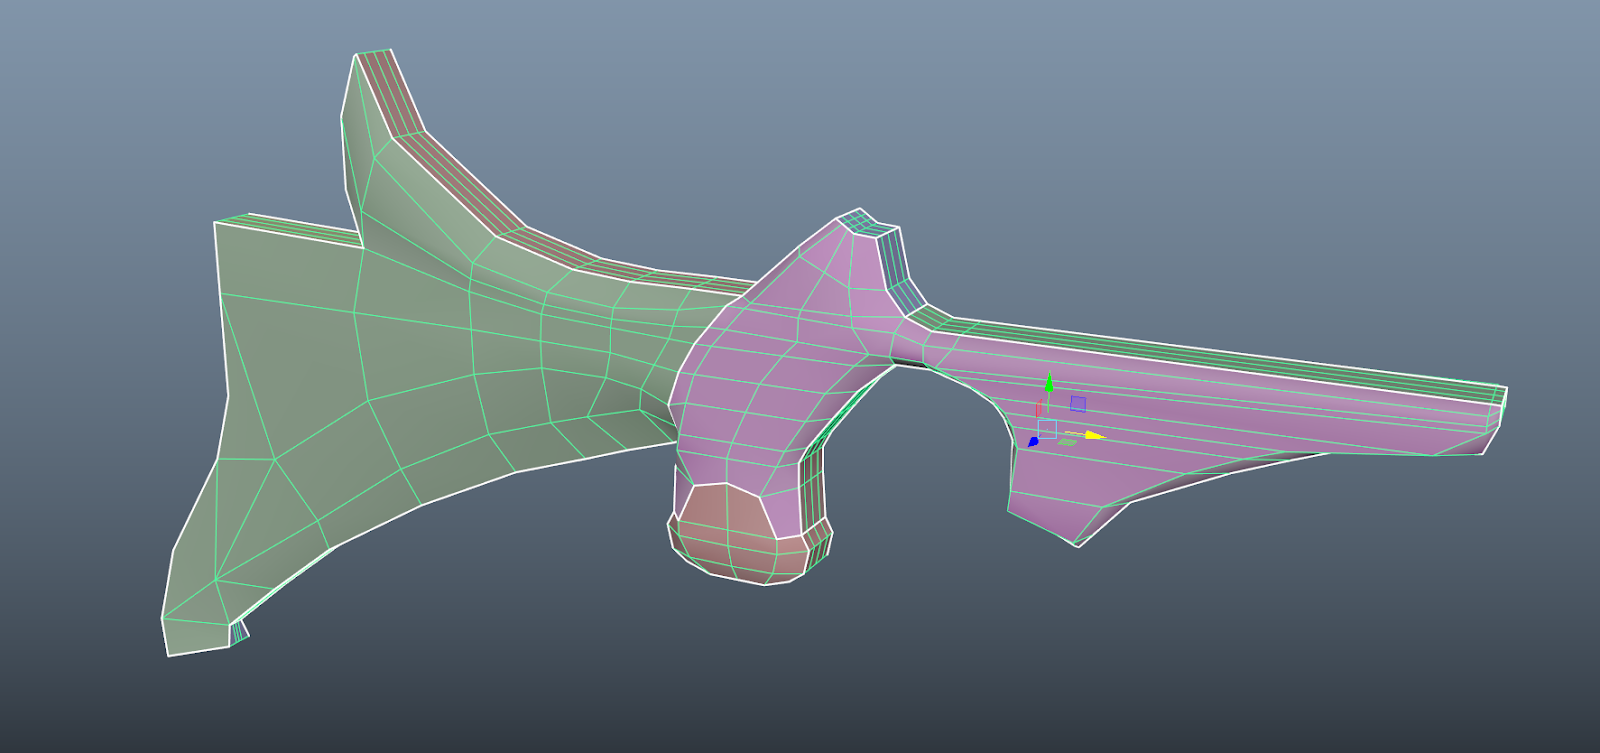
The Rifle Handle, adding a shell specifically for the elements of the brass cap at the base of the grip was important because i want to get enough UV to give it some nice metal textures and some cratches and dings for character.

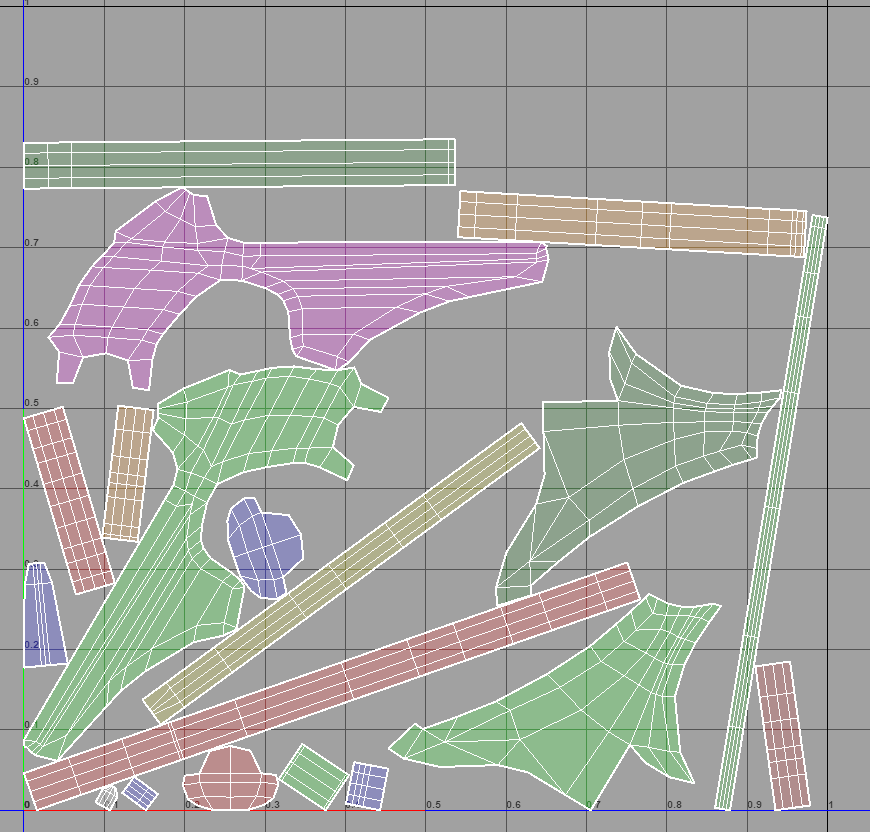
The rifle UVs are a little ugly for now, I think I may end up splitting the rifle apart when I have to inevitably retopologize the whole thing.
The Firing Pin
Honestly I probably could have made this part of the cannon but I wanted to give it the opportunity to animate the cannon actually firing so I kept it separate.


I think I'll need to take another crack at these as well, while this object itself is pretty small, the way these UVs are laid out are just kinda ugly.  I'll talk with Nick in the coming weeks to get an idea of how to layout awkward objects like this in the future.