Nailing the texture of the bark has been difficult because I've been pretty focused on the twist of the "strands" in the bark. If I can find or make a good brush that I can pull along the flow of the twists in the bark I can get this thing looking pretty great, I just need to figure out how I can get that done without it looking samey.
Monday, November 26, 2018
Week 2 Environment - Bonsai Tree
Pivoting away from my original plan that was going to take way WAY more time than I had with my new responsibilities as a capstone lead, I've decided to scale down my project considerably. How considerably you may ask well... how does under a foot tall sound?
Yup, pivoting away from my cavern filling tree of roots and pools, I'm scaling down to a bonsai tree. I'll still be incorporating the proxy rocks I developed last week, but for now I've focused on the tree pretty much exclusively.
Monday, November 19, 2018
Week 1 Environment Reference and Proxies
My intentions for the environment are to use roots as elevated pools of water that lead from the smooth cave walls where water has eroded and smoothed out the rocks and work my way up to a petrified tree that gets greener as it reaches the top with vibrant foliage. The surrounding structures will be shaped into roots which separate the surrounding water into distinct pools of water.
The surrounding cave wall will be eroded into a smooth structure with more angular, chunky rocks coming together at the top to make a hole in the above cave to let light in to nourish the tree.
After a pass in Zbrush I'm hoping these rocks will come together as building blocks for the non-eroded rocks that surround the cave walls. I imagine I'll have to make more as time goes on, but a lot of my work will be able to be saved after the sculpt by using some of Zbrush's more advanced transform abilities to create arched rocks or even circularize some of my existing rocks or groups of rocks.
Thursday, November 15, 2018
Week 4 Prometheus
This week I was interested in breaking down Prometheus' armor a bit more so I did some concepting, we wanted to work with the original color pallet amount of white and additionally gold or purple to show divinity or dignity/power.
Monday, November 12, 2018
Week 3 Deer
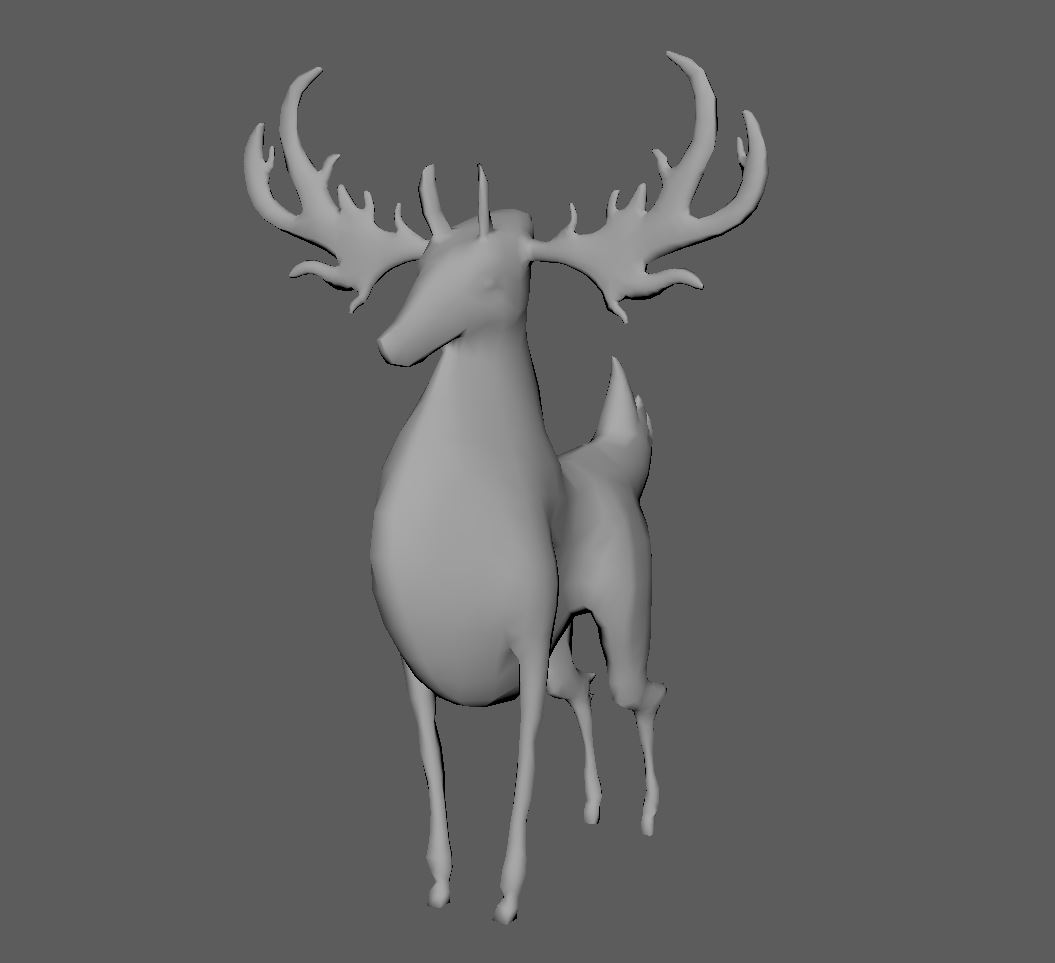
Week 3 of our medium complexity character has me saying my final goodbyes to my antlered friend. Most of my work today was done in substance painter save an error I encountered because I had to take a second pass at softening my mesh.
Step 1. Bake High Poly
I only had to re-bake my mesh because I didn't soften my edges enough in my Maya Export, which I only noticed once I started to dive into the painting process.
Step 2. Fill
I started with the Deer's base color coat and worked with that as my background for the rest of the texturing process.
Step 3. Details
I wanted to take care of the tail first and use that as a rubric for how I would approach the rest of the texturing process because it was an island of detail that I could use to test how things looked. Once I was mostly satisfied with the result I moved on to larger texturing spaces.
Step 4. Large surface Color
Here I took a crack at the antlers and general coloration of the body of the deer. I wanted to save the orange/gold highlight on top so I mostly kept to darker tones everywhere save the chest fur. I tried a couple times to get the lightness of the fur just along those sculpted tufts but unfortunately it just never turned out the way I would have liked.
Step 5. Highlights and Fur Blending
Here I feel the mesh really came to life, the addition of the oranges to the deer's coat really helped it to feel vibrant and alive. To contrast the purples at the deer's feet help to bring the viewer's attention higher on the figure while still looking at home with the rest of the very warm tones.
Step 6. Universal Rough and Metalic
Here I simply took a fill layer and turned off the color, normal, spectacular, and emissive channels to give the mesh a universally applied amount of roughness and metallic. I'm a big fan of matte looks on models, especially for living creatures so I kept the values below .5.
Step 7. Emissive Eyes and Antlers
The final element I added in Substance Painter was touches of blue at the tips of the antlers, a few dots along the body of the antlers, and finally the deer's eyes. The base color of these dots is a darker blue with a lighter blue as the emissed color. I think the emissed color is a little strong, so I'd like to work to show off the base color a little more in the future.
Step 8. Import into Unreal and Spin
It'd been a good bit since I set up my fish rotation so I had to knock the rust off with such a simple blueprint but nothing a few minutes of testing couldn't fix.
Strangely, my attempts to export an optimized .GIF actually ended me with a much larger file than when I exported an unoptimized file.
Final Note:
Something interesting happened when I was working in substance painter and wanted to add the Emissive channel to the texture set, when I clicked the + to add the channel I saw it highlight as if it were clicked but no menu to speak of. However, when substance was the only thing up on my monitors, I noticed substance had placed the menu up on the screen above my cintiq. I'm not sure if this exclusive to tablet style displays but I'd be interested in testing to see if it happens and just let people know if you don't see a menu you should, check your other monitors.

Something interesting happened when I was working in substance painter and wanted to add the Emissive channel to the texture set, when I clicked the + to add the channel I saw it highlight as if it were clicked but no menu to speak of. However, when substance was the only thing up on my monitors, I noticed substance had placed the menu up on the screen above my cintiq. I'm not sure if this exclusive to tablet style displays but I'd be interested in testing to see if it happens and just let people know if you don't see a menu you should, check your other monitors.

Thursday, November 8, 2018
Monday, November 5, 2018
Medium Complexity Character Week 2
Retopology, poly paint, and baking
The first step to retopo is importing your decimated high-poly mesh into Maya and setting it to be your active live-surface. Quad-draw is your friend and enemy here, as getting a hang of the finickiness of the tool can be a real pain. For stuff like the base of the antlers, the shoulders, hooves, tail, eyes, and the little fur tip at the back of the deer's leg I would recommend setting up a circular set of quads that encompass the area in question. Just be careful about how many polys you use for this step, as it can get your polycount pretty high very quickly.

Final Retopology
Finished Retopology with softened edges
UV Setup
Zbrush Polypaint from established Polygroups
Retopology, poly paint, and baking
The first step to retopo is importing your decimated high-poly mesh into Maya and setting it to be your active live-surface. Quad-draw is your friend and enemy here, as getting a hang of the finickiness of the tool can be a real pain. For stuff like the base of the antlers, the shoulders, hooves, tail, eyes, and the little fur tip at the back of the deer's leg I would recommend setting up a circular set of quads that encompass the area in question. Just be careful about how many polys you use for this step, as it can get your polycount pretty high very quickly.
Final Retopology
Finished Retopology with softened edges
UV Setup
Zbrush Polypaint from established Polygroups
Substance Painter Bake of my High poly model on my low poly
Thursday, November 1, 2018
Prometheus Round 2 - Robot Ideation
Taking the feedback from the first round of robots I presented to the group and to Nick, I worked on a few more designs based on the chosen silhouette. After talking with the team, we wanted to give the robots cloth in some way, not necessarily attached to them but in some way draped around them, and with the silhouette that I got, the figure really spoke to me as a robed figure and most of my designs reflect this.
Subscribe to:
Posts (Atom)